The Lesson plan:
| printmaking_lesson_phs.pdf |
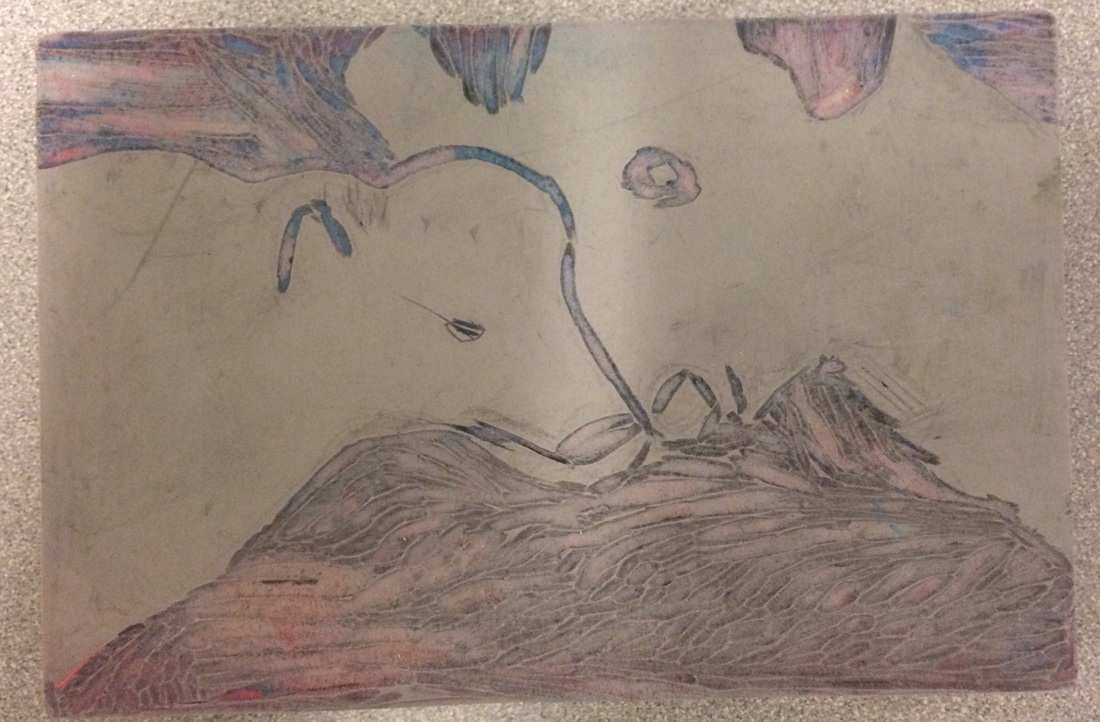
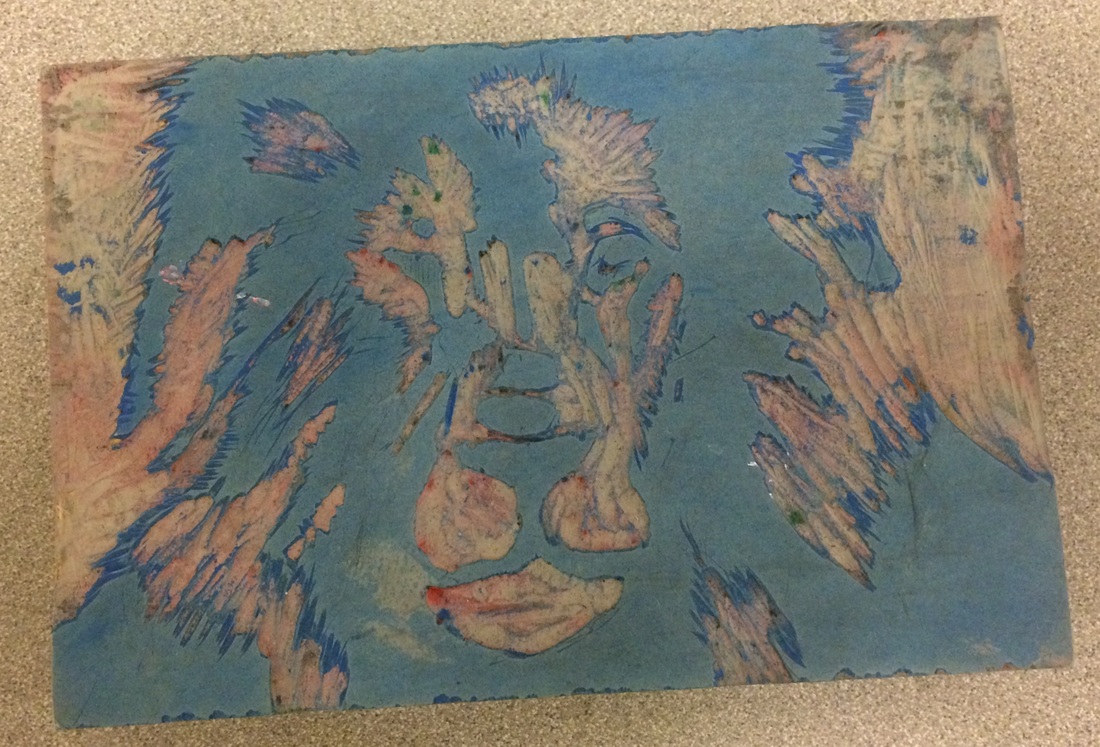
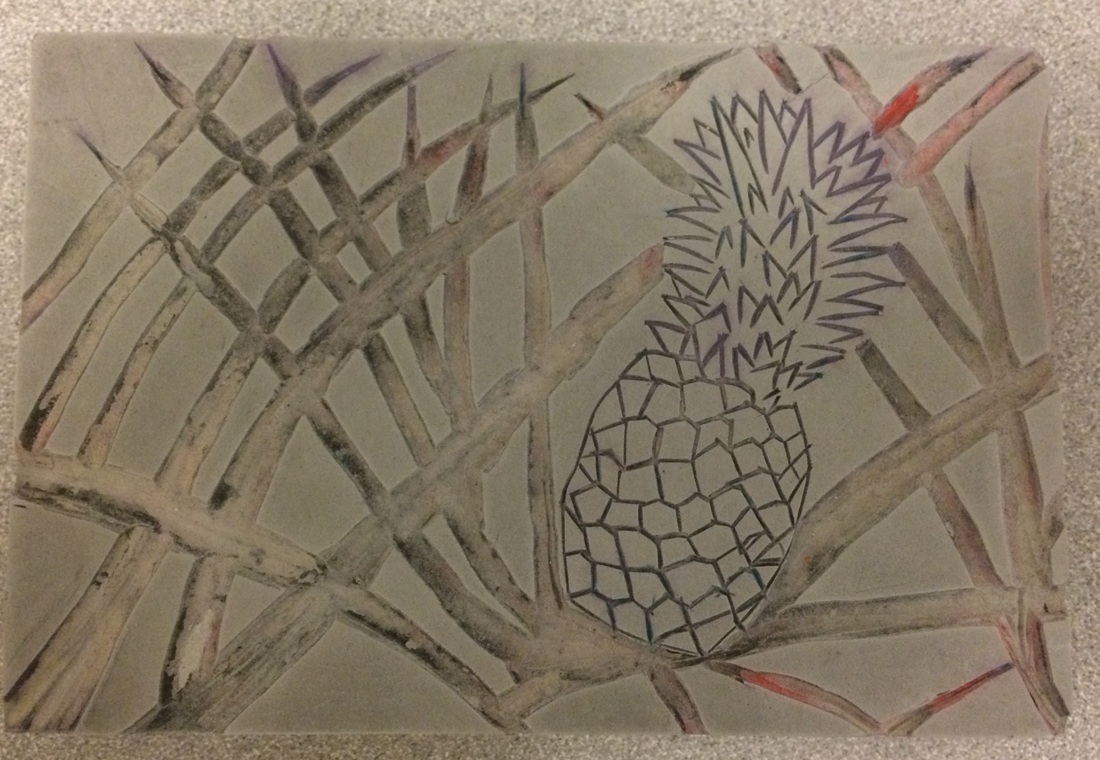
The Lesson:One of the Lessons I taught during the semester was linoleum cut printmaking. The process included taking an image and adjusting it to create a high level of contrast. This step is extremely important when transferring an image on to a printing block. The block only allows for two areas- a positive and a negative. Once the student has the image transferred onto the block, the carving begins.
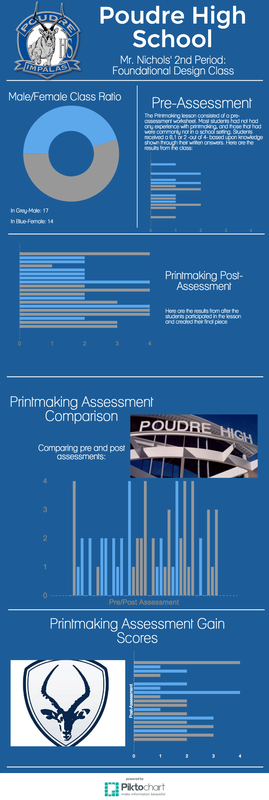
On the first day of the lesson, I handed out my pre-assessment survey and then Mr. Nichols had a presentation about pattern and printmaking. This class time along with the following were dedicated to showing an understanding for pattern, and the action of carving a small block. The next period consisted of the lesson that I taught. This lesson included a demo of the printing process (See lesson plan document above). The Piktochart to the right demonstrates the outcomes from the pre and post assessments, along with their overall gain score. The students are broken up using blue and silver: blue represents the females while silver represents the males. Each graph represents the class as a whole. The blue and silver help understand one cluster among many in the classroom. During the next few work days, I provided a powerpoint with examples of finished prints- some being my own and others demonstrating a strong use of pattern, images of tools we will be using throughout class, and at the end of the day a reflection question. The reflection was used as a ticket out the the door along with a check in point for me to gauge the progress and understanding of each student. (You can find the powerpoint document below) The overall preparation for this lesson included:
|
Click the download button below to enlarge image.
| ||
There were many students that required modifications and accommodations . One example includes a student that works at a fast pace, picks up on the learning targets and concepts very quickly, but is ready to move on as soon as she has completed the minimum requirements of the assignment. I approached this student with levels, or challenges she had to complete before moving onto the next step of the project. After her block had been fully carved, and she printed once in her sketchbook, I created the rule of no less than 8 test prints before moving onto final paper. once she accomplished that, the next step was allowing students to use colored paper. There were only enough colored sheets of paper or each student to try two prints, and after colored paper the final assignment consisted of creating a collage. Each step of the way I created a standard she needed to surpass before moving on to the next piece.
Another example involves a student who likes to move about the room, socialize and distract others from what is happening at the moment. I grabbed his attention right away. During the demo, I called on him as a volunteer (whether his had was raised or not). He helped me through the demo by carrying out the actions I was describing. This helped him in two ways. The first is it focused his attention on the demo, he was still in the spotlight but in a non disruptive manner. The second way this helped came along later during class time. He still moved about the room, or engaged in side conversations, but mixed in with the side conversations were comments about the artwork being created. Every time I walked by to check in, he had made progress on his piece and even explained how some methods of carving worked much better for him than others. This was a true success in my book.
Another example involves a student who likes to move about the room, socialize and distract others from what is happening at the moment. I grabbed his attention right away. During the demo, I called on him as a volunteer (whether his had was raised or not). He helped me through the demo by carrying out the actions I was describing. This helped him in two ways. The first is it focused his attention on the demo, he was still in the spotlight but in a non disruptive manner. The second way this helped came along later during class time. He still moved about the room, or engaged in side conversations, but mixed in with the side conversations were comments about the artwork being created. Every time I walked by to check in, he had made progress on his piece and even explained how some methods of carving worked much better for him than others. This was a true success in my book.
| linocut_prints.pdf |

